So now I finally have something to cast! Time to start tearing through those unpacked boxes and find everything I need. Tongs, check! Torch, check! Casting investment, check-check!
Okay, I'm scared to death of this step. But time to bite the bullet and just do it.
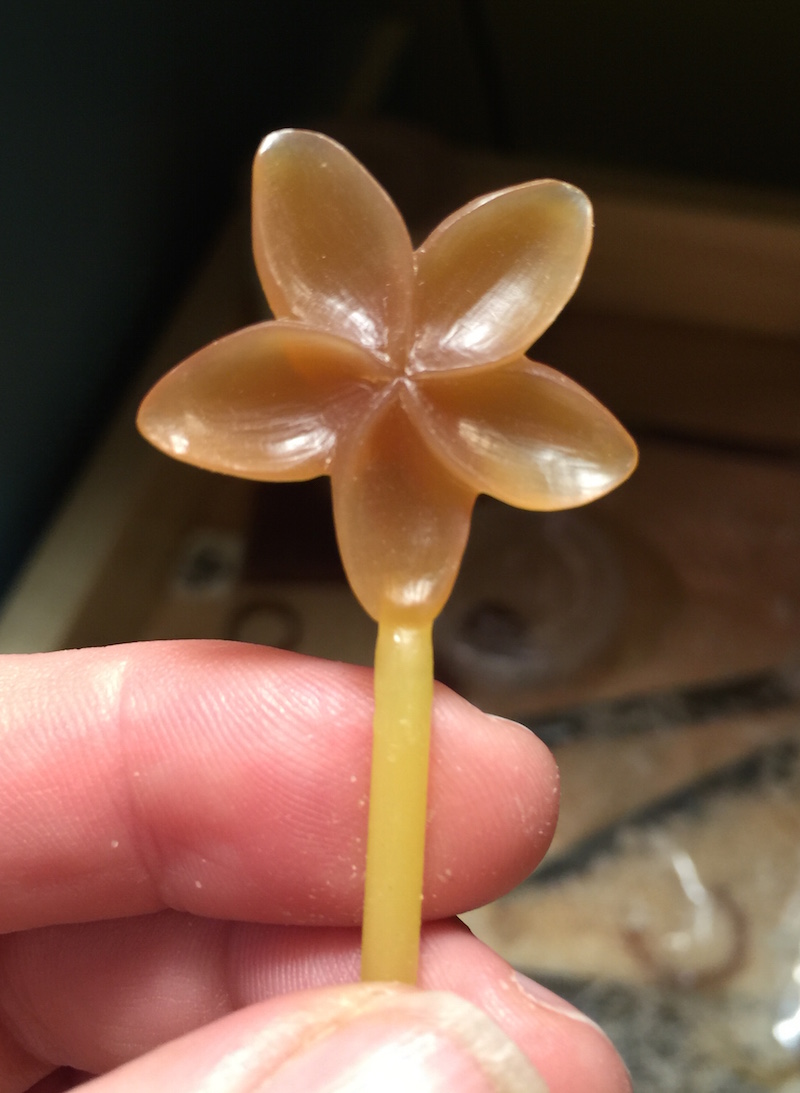

Step 1: Add the Sprues
When you're creating a lost wax model, you need to add a "sprue," which creates a tube through which molten metal travels into the model cavity in the investment (like plaster of paris).
You'll want to weigh each model with a short sprue attached on a jeweler's scale, and make a note of the weight in GRAMS on a piece of paper. You'll use this to calculate the amount of metal needed.
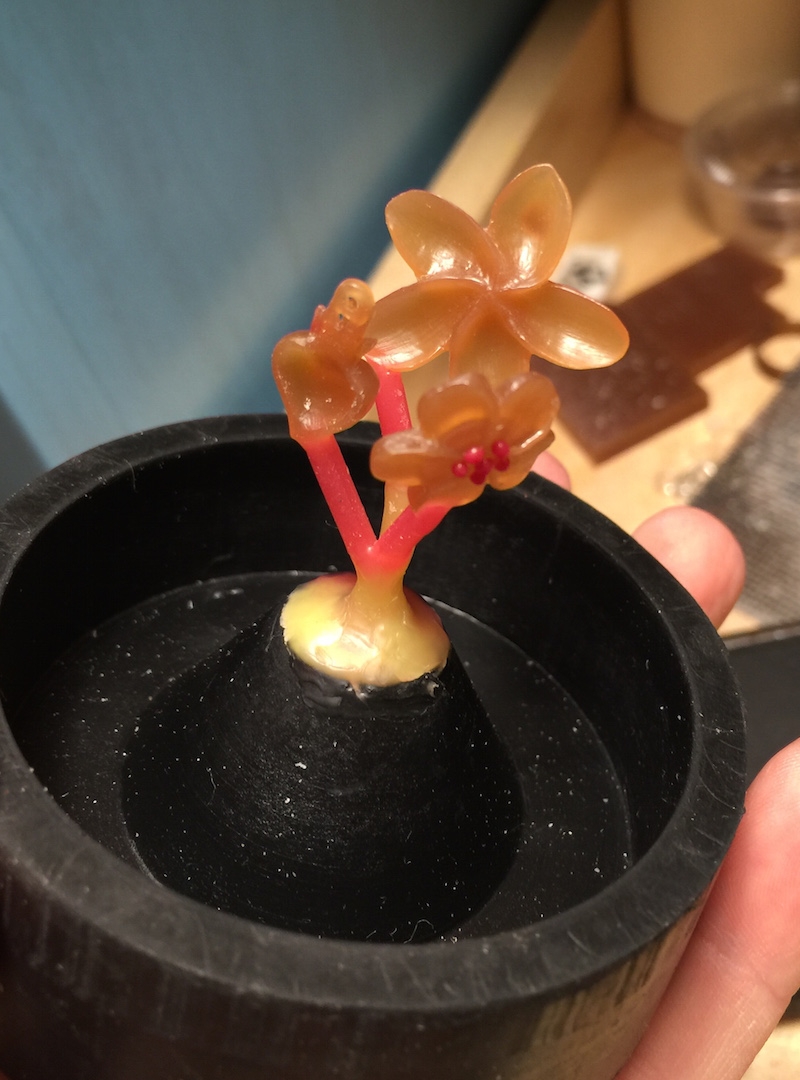
If you're casting multiple items at the same time, you can make a "tree" of the separate models, connected with sprues to the button.
The bottom base shown on the last photo will fit onto a metal flask, which is a large stainless tube.
Next, spray the model with a light coat of debubblizer from about 12-18 inches away. Bubbles on the model will result in little bumps...you want to avoid them at all costs!
Using thin plastic, such as transparency material, create a "collar" at the top of the flask to contain the investment.
Step 2: Mix the Investment
The next step is to mix the investment, using the casting machine's vacuum chamber to remove any bubbles from the investment.
Using tables provided by the manufacturer of the investment, you carefully mix dry investment with cool water in a rubber mixing bowl. With plaster, you always add the dry plaster to water, and allow the water to seep into the dry mix...a process called "slaking." After the investment has absorbed water, you can start to mix. Kerr, the manufacturer of the investment, recommends mixing for about 3-1/2 minutes. I didn't go that long.
Step 3: Remove the Bubbles by Vacuuming
My first casting kit recommended tapping the side of the bowl to remove bubbles, but the Kaya-Cast has a vacuum chamber that lowers the pressure, causing the investment to "boil." Kerr recommends that once the investment starts to boil, vacuum an additional 20 seconds more. When the pressure is released, the bubbles disappear!
Step 4: Pour the Investment in the Flask and Vacuum Again
Carefully pour the investment down the side of the flask, never on the model itself. The investment will fill around the model from the bottom, which will help push any air bubbles to the top. Make sure that the investment is slightly below the top of the flask.
Place the flask in the vacuum chamber again, and vacuum up to 90 seconds.
In the video, you'll notice that the sound of the vacuum is different. The bell jar was not sealing completely with the silicone pad. Pressing down on the jar fixed the problem, and since only a few seconds elapsed, I didn't have to adjust the time.
Step 5: Let the Investment Set
The next step is to let the investment set for about two hours. Once the investment has hardened, remove the collar, clean the top with a putty knife, making sure that the investment is slightly below the top edge of the flask.
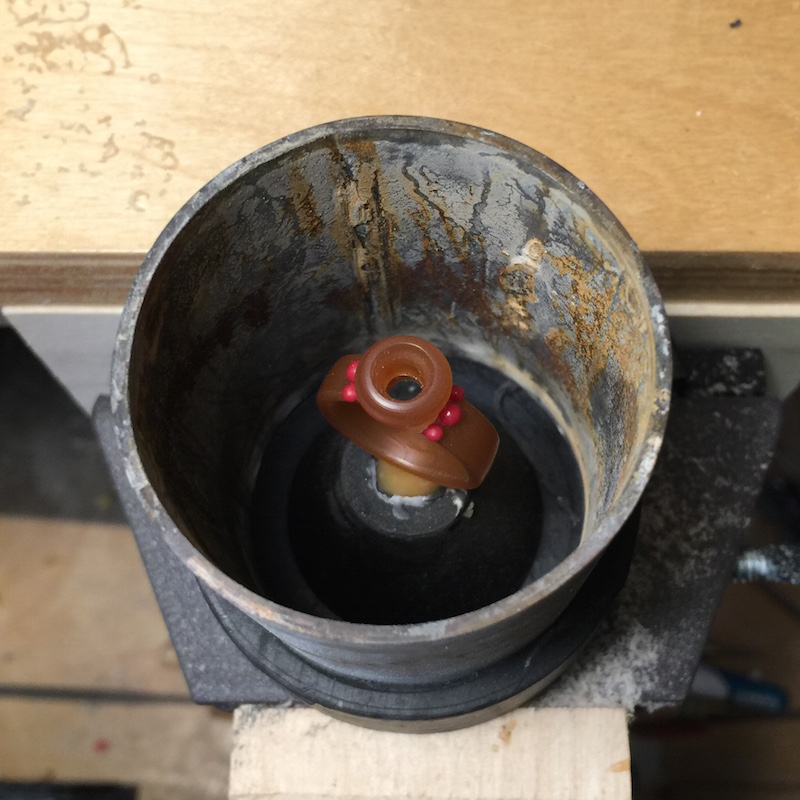
Step 6: Removing the Rubber Base
Carefully twist (if possible) the rubber base, and remove it. If you can't twist it—these little suckers are pretty tight—pull one edge slightly away from the flask, then twist. It should come off. Inspect the hole to make sure that there isn't any debris.
If bits of investment get into the hole, they can become lodged in the molten metal and ruin your piece.
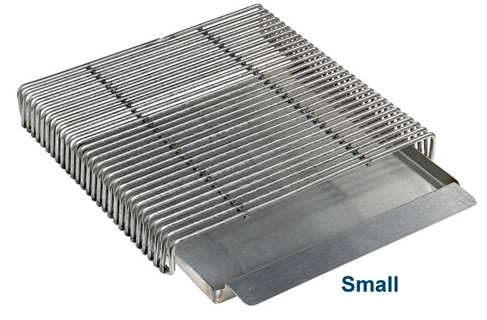
Step 7: Burn Out the Wax
Turn the flask upside down, and place on a metal screened based that's used for collecting wax and protecting your kiln. Using a kiln and the recommended burnout schedule from the investment manufacturer, burn out the wax. If you're using SatinCast from Kerr, the schedules are located here, or see the graphic below.
Since my flasks were 2"x2.5", 2.5"x2.5", and 2.5"x3", I should have used the five-hour burnout schedule. Larger flasks require longer burnouts. Since one of my flasks was larger than the 2.5"x2.5" limit for the 5-hour schedule, I went up to the 8-hour schedule. I probably could've done fine with the shorter schedule, or adjusted it a little longer.
I also saw that there was a large range of casting temperatures, which varies depending on the type of metal and the type of design. I was casting sterling silver from Rio Grande, which has a recommended range of 800-1200°F (427°C-649°C). I did read that centrifugal casting machines will generally cast at a higher temperature, and I know that a local studio casts at 900°F (482°C) with their centrifugal machine. There can also be problems with the quality of your casting if you cast too hot. So I chose to cast at 900°F.
So the final stage of your burnout cycle is to hold the flask at the casting temperature, which in this case was one hour at 900°F (482°C).
Kerr's recommended burnout cycle
Step 8: Calculate the Amount of Metal
Take the weight from Step 1 and make the following calculations:
Add 10% for the button. Multiply the weight (or total weight of multiple pieces) x 1.1.
Take the new amount, and multiple by the specific gravity of the metai you're casting. Silver is 10.36, but generally rounded up to 10.4.
This is the weight in grams of your metal.
Divide this number in half. You'll need at least 50% NEW metal (casting grain) and the other 50% can be scrap. Set the metal aside. Repeat for each flask.
Turn on the scale, change mode to GRAMS. Place a small container on the scale and press the TARE button to zero out the scale. Add the casting grain first, and make sure that you have at least 50%. Add the rest of the scrap until you reach the total number needed.
Next...we'll cast!